How to Create a Resource Bundle Document
Create a Resource Bundle Document
In the Content application, navigate to a folder that supports resource bundles. Because Resource Bundles inherently include localization data across multiple locales, it is recommended that you create Resource Bundles outside of the scope of a specific locale (i.e. inside a "non-translated" folder). In a Hippo project set up using the setup application, the administration folder is an appropriate folder for creating Resource Bundle Documents. Also, as Resource Bundles are used to manage data centrally, you may want to keep them inside a folder with restricted access rights. In the folder's action menu (which appears when you hover over the folder in the Browse Area), select Add New Document (Figure 1). A dialog pops up, asking to specify a name and a document type. Choose a proper name and select Resource Bundle as document type (Figure 2).
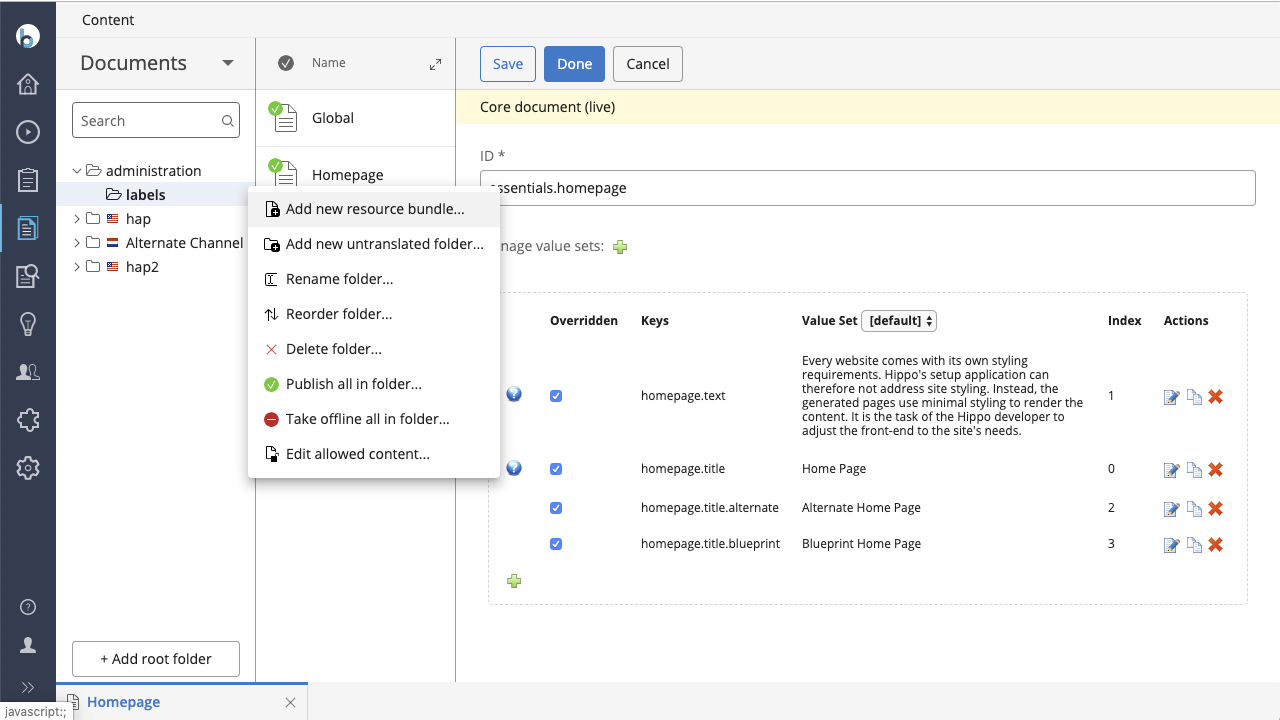
Figure 1. Select a folder in the CMS and create a document
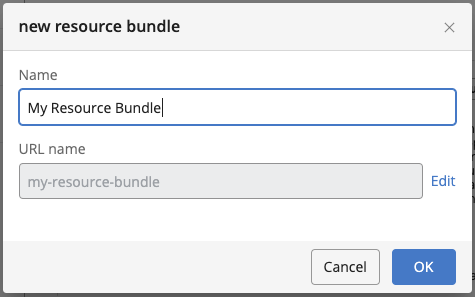
Figure 2. Specify a name, and select 'ResourceBundle' as document type.
Assign a Unique ID
The Document Viewer Area presents a field to specify the Resouce Bundle's ID and two green "+" buttons: one to add a Value Set or locale, and one to add a new key-values set (Figure 3). You need to assign an ID to the Resource Bundle, which is unique within the repository. We recommend you use the standard Java Reverse Domain Name notation, for example "org.onehippo.hst.demo.resources.ProductResources".
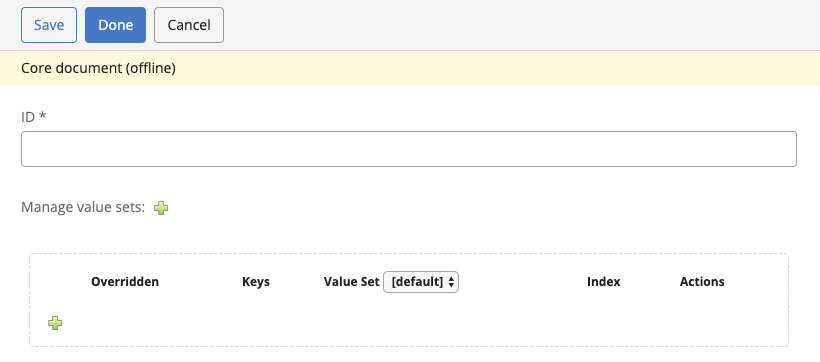
Figure 3. HST Resource Editor Plugin interface in Editing Mode.
Add value sets
Typically, a value set represents all values for a specific locale inside the Resource Bundle. You add a value set by clicking the green "+" button near Manage Value Sets. The Value Set Add Dialog appears (figure 4), where you can specify the name of the value set. We recommend using valid locale names such as "nl" (Dutch) or "en_US" (American English).
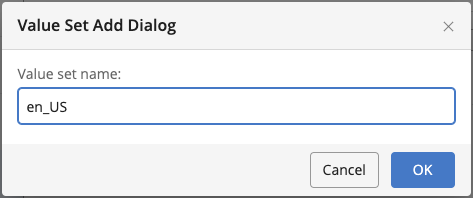
Figure 4. Dialog panel for adding Value Sets.
Add Resources
A Resource is a set composed of a key, multiple values (one for each value set) and a description. Click the green "+" button in the lower part of the Document Viewer Area to open the Resource Add Dialog (figure 5).
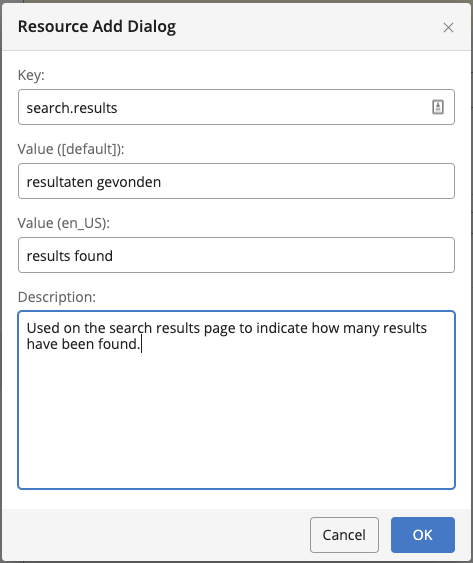
Figure 5. Dialog window to create and update a resource.
| Field | Description |
|---|---|
|
Key |
The key should be a name that is used to retrieve a localized resource from the Resource Bundle Document, unique within the Resource Bundle. As the UI sorts the resources alphabetically by key, using a reverse domain name notation approach for the key helps keeping semantically related keys together. For example, keys related to the site's search mechanism could be called "search.results", "search.box.placeholder", "search.box.button_label" etc. |
| Value ([default]) | This is the value used if no locale has been specified, or if the requested locale is not specified as a value set. You may want to use the language most common for your project. |
| Value (<value set name>) |
For each value set, a field is present. Enter the desired value for that value set / locale. |
| Description | Here, you can specify additional information relevant for this key. It will be shown when hovering over the question mark icon in the Resource Bundle Document overview (See figure 6). |
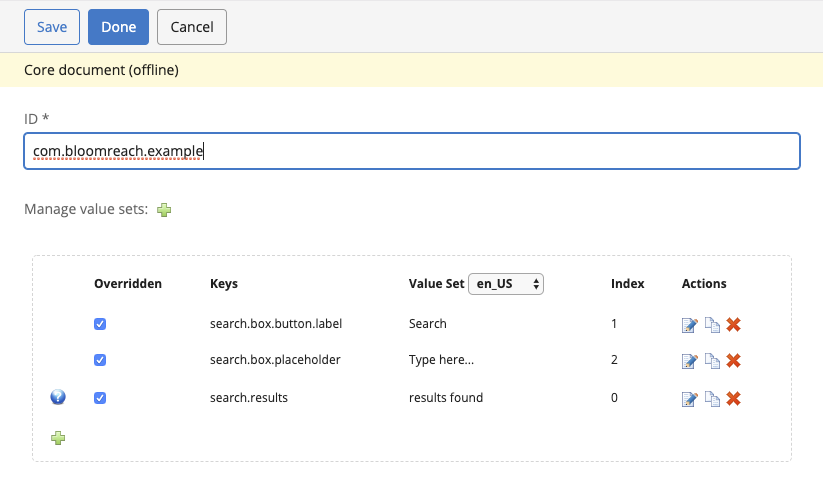
Figure 6. How the UI appears after having added some resources.
Publish the Resource Bundle
In order to be able to use the Resource Bundle Document in your JSP's and Java classes, you need to publish it. In th header of the Document Editor Area, select Save & Close. The menu will change to reflect the actions available after editing. Select "Publication->Publish". Your Resource Bundle Document is now available for use in the live site(s).

