A Developer Guide to brXM Version Migrations
2022-07-14
Migrations and Upgrades: Similar Results, Different Approach.
A migration is a 'lift and shift' process to move a project from one platform version into a later platform version, usually skipping multiple versions in the process. This is in contrast to an upgrade. An upgrade from a v11 -> v15 project, for instance, would require a linear path from one version to another, including several intermediary steps to ensure a clean upgrade process. A migration from v11 -> v15 is not dependent on incremental upgrades, and instead the process moves a v11 project directly into a v15 project in this example, bypassing the versions in-between.
A migration is a good option for a project that has been dormant for a very long time, with little development, while bloomreach CMS has seen several major product releases, many times during that period.
|
Enhancement Path |
Pro |
Con |
|---|---|---|
|
Migration |
Fewer steps to go-live |
Lose document version history |
|
No real worry if starting with an ‘abandoned’ project |
Custom code refactor likely |
|
|
Path is a less rigid |
3rd party integrations need special investigation |
|
|
Upgrade |
Retain doc. version history |
Requires strict adherence to upgrade steps documentation |
|
Incremental updates lessen chance of refactoring debt |
Lengthy process (especially between multiple versions) |
|
|
EX/IM scripting help |
Bigger QA window |
Step 0: Research
Get to know the upgrade documentation. Read every step of every upgrade documentation for the versions between the source and target project. Seriously. Read all the release notes for all the intermediary versions between the migration. Seriously. There's a lot of info there that can help prevent what could be a 2 week migration become a 2 month migration. Read this guide. Make sure your approach to the migration is sound.
Here's an example of one of those pieces of documentation.
https://xmdocumentation.bloomreach.com/13/about/upgrade/introduction.html
Step 1: Prepare the Stakeholders
A migration can be a lengthy process. Any project of this magnitude should be approached on all sides with some understanding in place. Migrations occur from a project at a specific point in code, from one earlier version to another later version. The work effort of this migration can be weeks, perhaps months. Do not offer to migrate any new features developed for the project across the migration time period.
It's fair to note that if the client has opted for a migration, it's likely that they are revisiting code and processes that have not been maintained for a very long time. The scope of work should account for a healthy ramp-up period while both teams sort out the details of code access, VPN, work environments, auth, privileges, etc.
Once you receive the project code, the project may not even build! Clients should recognize that in this case, the original estimate of hours can increase drastically while the project is worked into a stable state.
Step 2: Assess the State of the Project
Once you have the source project code (the subject of the migration) in a local work environment, you need to spend some time learning about the state of this code. Very often, neglected projects get into that state for a reason. Identifying a broken build or detecting a memory leak is better known earlier than later. For that reason, give yourself a healthy recon period scrutinizing the project.
Look for:
- Customizations in the console configuration
- Customizations in the Java code
- Do they lean on/extend essentials features?
- Is there test data or real world data in the repo?
- Unused document types
- Namespaces used
- All sitemap endpoints respond properly
- POM file sanity
It will be your responsibility to prepare the project into a state primed for migration. Don't move onto the next step until you have a project that builds and runs locally such that you can login to the CMS, browse the console and content repository, make Experience manager adjustments, etc. At the very least, your end-users should feel confident to work in the environment, before you proceed.
Step 3: Create the Target Project
Once you've come to grips with the state of the project, you'll need to create a target project from the archetype for the target code (the resultant code of the migration). Usually that means the most recently released version of brXM.
When you create the project, you will be prompted to seed it with some details. These should generally be the same from the source project code as they will be in the new version.
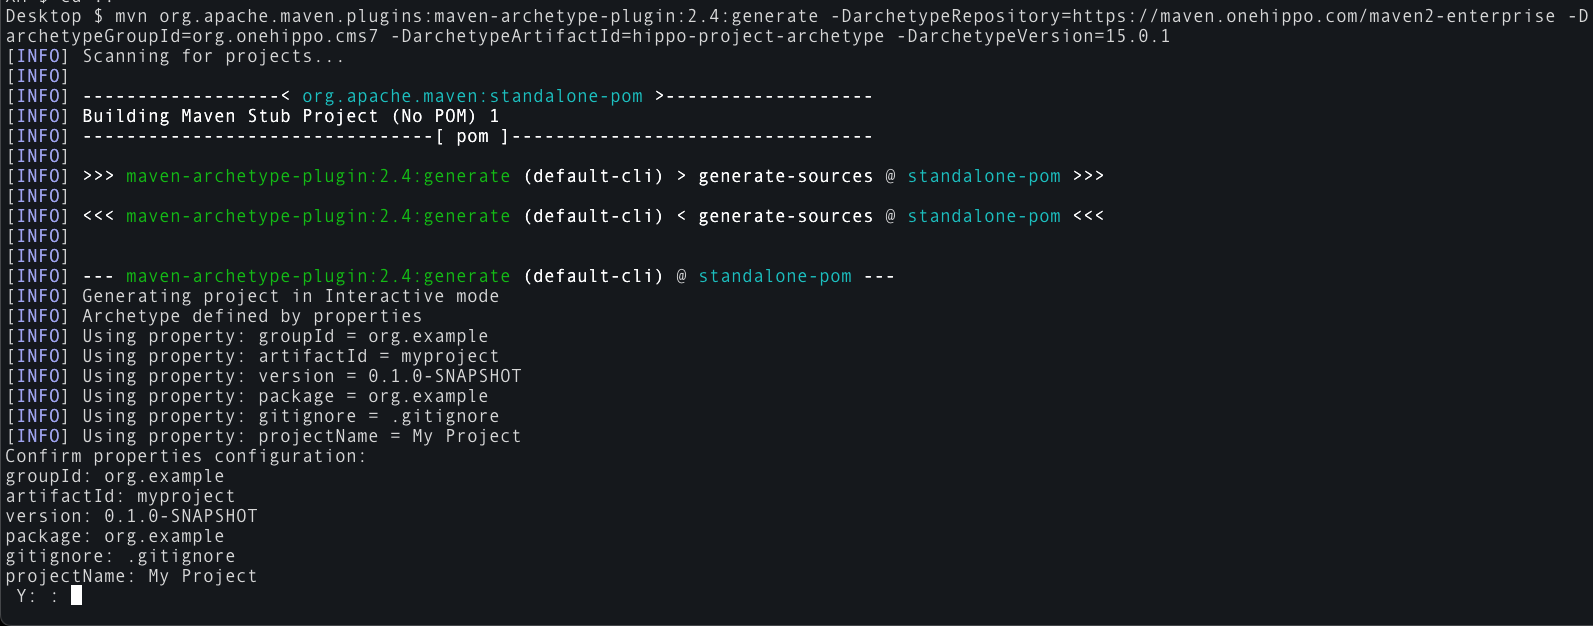
Type "N" when the Maven archetype generate command presents you with the defaults.
The prompts:
- groupId - <groupId> in the source root pom.xml
- artifactId - <artifactId> in the source root pom.xml
- version - decide with the client, should we continue the semantic versioning from the source project, or start fresh (0.1.0-SNAPSHOT)?
- package - same as <artifactId> in the source root pom.xml
- gitignore - leave default unless you have some special reason to change
- projectName - this corresponds to <name> in the source root pom.xml
Once the project is successfully created, compare the source and target root pom files.
Step 4: Working Nuts and Bolts
You've just created a target project, but you haven't really begun the work of the migration. Before that begins, take a moment to think strategically about how the work gets done. Talk with the client on how they like to work collaboratively. Is their version control system git? SVN? Do you create a new branch ad hoc? Do they have something else in mind? Typically, you're going to be working in their repo, so it's best to meet their team's expectations of the repository.
With this work ready to begin, you should anticipate the need to bounce back and forth between two instances of the CMS (source and target) repeatedly. It is recommended to configure it such that you are able to host both versions locally with cargo.run simultaneously, on separate Tomcat ports. There's some documentation on this process right here: https://xmdocumentation.bloomreach.com/13/library/development/run-2-hippo-cms-instances-of-tomcat-simultaneously.html
Frequently (daily?) commit and push your work to the version control repository. You don’t want to lose a day’s work, or find that you need to back out some work and not have a regular, consistent restoration path.
Step 5: CND Export
The first step of "real work" would be to export the CND (compact node definition) from the source project.
This can be done by going to /cms/console.
In the top right, there is a drop down menu labeled "CND".
Select "CND Export".
This will open a popup modal where you will need to select the namespace within the project that you want to export. You can download this or copy-paste the on screen results into a file.
NOTE: there may be multiple namespaces that you need to export.
Step 6: CND Import
Now that you have the CND out of the source project, perform a similar process in the /cms/console of the target project.
Click CND, CND import, choose file, click import.
At this point, things may go wildly wrong. That's ok, and in some cases expected.
The CND has had several changes over the years. Likely, your job now becomes figuring out how to modify the CND for the newer release. You may need to refer to the product release notes for any of the intermediary versions between the source and target project.
Step 7: Namespace Export
In the source project console, locate the hippo:namespaces JCR node.
Right click on the namespace you want to migrate (often, this will be the artifactId from the source project's root pom, but it is not guaranteed)
Click XML or YAML export.
NOTE: YAML export for JCR nodes arrived after v11. you may be stuck with XML export. The only real difference between the two is serialization formats, it shouldn’t impact the end result.
Download the Zip file of the export.
Step 8: Namespace Import
NOTE: if the artifactId is the namespace you're working on, you may need to first remove it from the target project.
In the target project console, right click on hippo:namespaces.
Click XML or YAML import. Leave the defaults as they are.
Select the zip file created with step 7, click import.
Here, again, is a point where things can and probably will go terribly wrong. If you encounter errors here, inspect the stack trace, use the /cms/logging/ endpoint to crank up the verbosity of the errant class, do your detective work.
Step 9: Compare Document Types
If you've gotten this far, you should now be able to see document types in the source project match the document types in the target project. In many cases, clients can leave the document types in an unfinished state. Review the state of the new document types, make sure they are all behaving normally and that the commit type-action has been performed.
Step 10: Content Export
With clean imports of the CND and namespace(s), you can now import the content from the source project into the target project. Similar to exporting the namespaces, find the content > documents node in the console and export it. It's very likely that this will be too large to export on its own, so it is suggested that you begin with small batches, or even a single document to start. For complex or very large data sets, it is recommended to investigate the efficacy of the EX/IM Plugin.
Step 11: Content Import
You may find that if you're importing a single document into the target project that you will need to construct some folder hierarchy to match the old system. Right click on the folder in the /cms/console content > documents hierarchy. XML or YAML import it into place. You'll likely find some errors at this step. It could be related to a custom class, field or a change in document structure from one version to another. It may take some time to complete this step.
NOTE: It may become necessary to wait to complete this step until the migration and refactoring of the custom Java code is completed.
Step 12: Migrate the Custom Code
In most projects, there will be some degree of custom Java code, classes, interfaces, etc that you will need to move into the target project and refactor for deprecated usages, dependency upgrades, or just plain broken code. You might find that this is one of the more time consuming parts of a migration. It can also sometimes seem like the list of things to fix is not only long, but unknowable in length. Remain focused on one issue at a time, know where to refer to release notes / upgrade steps, communicate with your colleagues, and/or contact Bloomreach support for assistance.
Step 13: Configuration Migration
There will be numerous configuration pieces that you will need to migrate that are separate from the Java code, content, CND, and namespaces. This may be Spring configuration, XML distributions, user configurations/roles, template queries, translations, custom scheduler cron jobs, etc. The list is too vast to attempt to name it all here, but at this step you would be well suited to review the notes you took in step 2. Knowing about your project end-to-end and frequently comparing what exists in the source project against what exists in the target project is key to a successful migration.
Step 14: Release to Test
At some point, you'll be at a place with the project where it's stable enough and the client will be anxious to get into the project and begin testing in their remote test instance. At this point, if it hasn't already, another round of issues/bugs will crop up. Rinse, Repeat and the handoff of the project should be complete soon.
For most projects that have issues with maintenance due to lost resources, forgotten processes, abandonment, or simply a project that has not been upgraded regularly, I would recommend a migration over an upgrade.